Embers Are the Main Way Homes Ignite in Wildfires — Here’s the Vent and Opening Checklist That Stops Them
By the Cindera Team ·
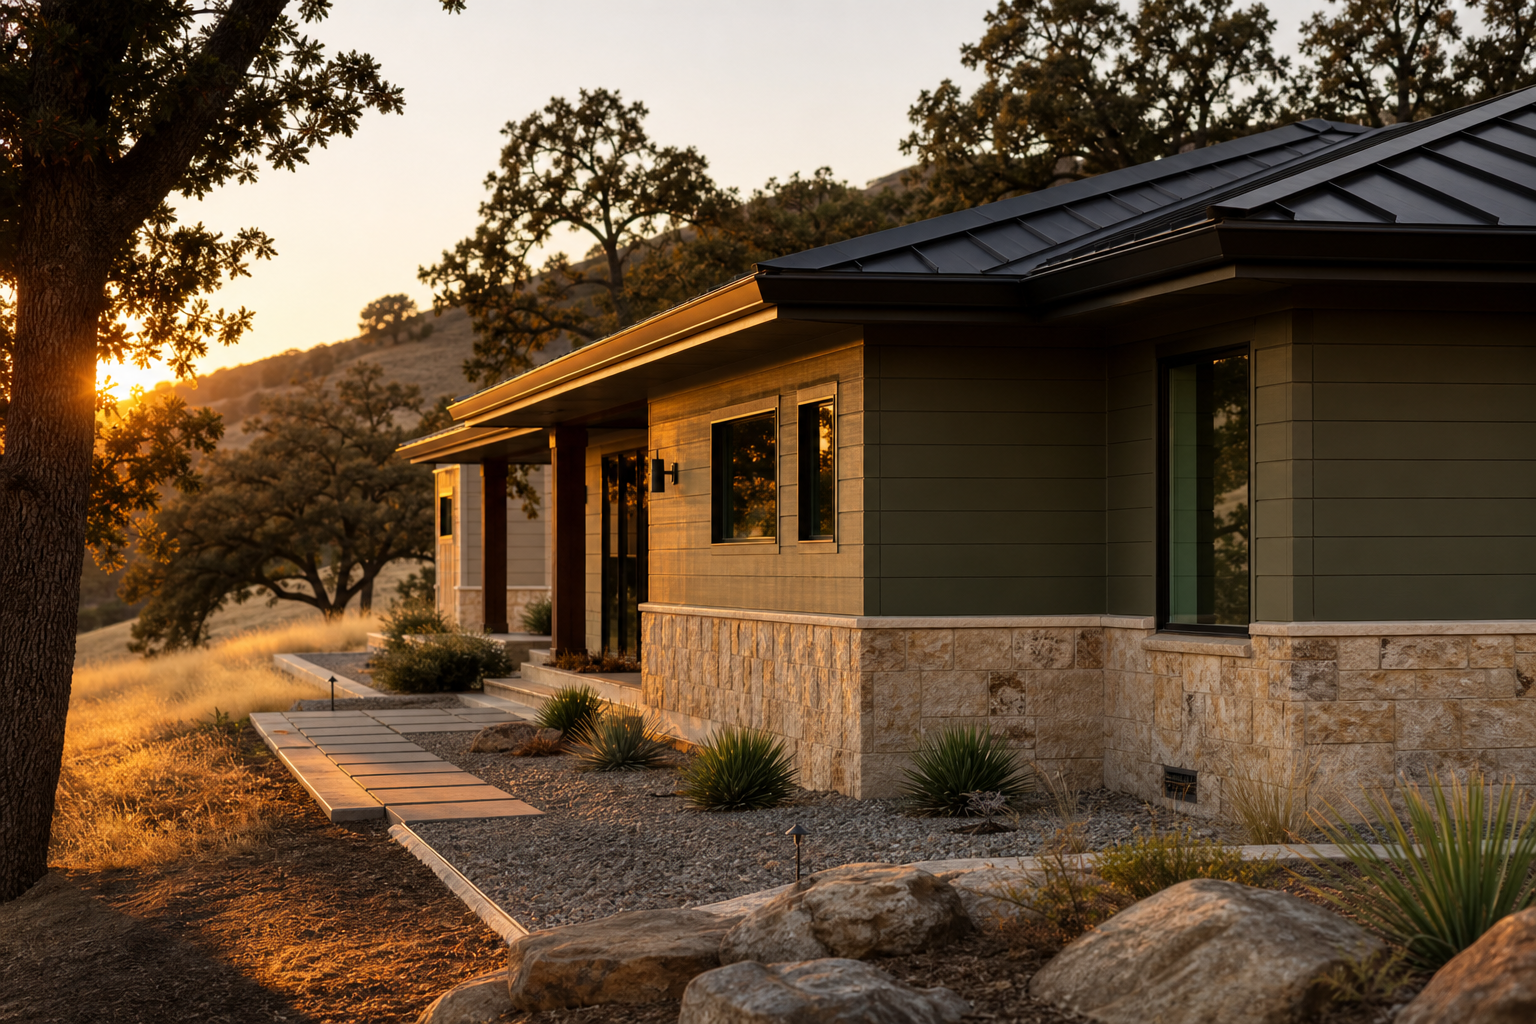
Most homes in wildland fires do not burn first from a dramatic wall of flame. They ignite when wind-blown embers land on receptive fuel, slip through a weak opening, or collect in debris close enough to the house to start a fire. That is why the most useful wildfire checklist is not a generic preparedness list; it is a focused audit of the vents, gaps, and penetrations embers use first. FEMA’s U.S. Fire Administration says embers contribute to a significant percentage of home ignitions, and IBHS’s updated Wildfire Prepared Home standard now centers flame- and ember-resistant vents and a 0–5 foot noncombustible zone around the home. ([1])
Why ember protection matters
Wildfire exposure reaches homes in more than one way: embers, radiant heat, flame contact, and convection all matter. But embers are the pathway homeowners can most realistically interrupt with inspection, cleaning, sealing, screening, and targeted upgrades. FEMA says embers can smolder for many hours before visible flames appear, which is one reason a roof, deck, or vent opening can fail long after the flame front has moved on. ([1])
That is the practical idea behind the home ignition zone. In plain English, the home does not stand alone. It is affected by the immediate area around it, the attachments connected to it, and the condition of the parcel itself. NIST’s wildfire mitigation work frames loss as an exposure problem and emphasizes that structure hardening works best when parcel-level fuels are also reduced. ([2])
If you want the shortest possible version of the science, it is this: embers do not need a large failure to start trouble. A small opening, a loose screen, a debris trap, or a combustible attachment can be enough. That is why the first job is not to harden everything at once. It is to find and close the places embers are most likely to enter or collect. ([1])
The openings embers use first
Not all openings are equally vulnerable, but the same few details show up again and again in fire science and home-hardening guidance:
- attic vents and eave or soffit vents
- crawlspace and foundation vents
- open eaves and gaps around rafter tails or blocking
- roof penetrations, roof edges, and roofline debris traps
- windows, screens, and trim
- doors and garage doors with gaps
- dryer vents and other wall penetrations
- deck-to-wall intersections and under-deck debris traps
- skylight edges and roof features that collect litter
IBHS has found that vent type, configuration, and orientation significantly affect ember entry, which is a good reminder that a vent is not just “a vent.” A gable vent, ridge vent, soffit vent, or foundation vent can behave differently because the ember flow and geometry are different. CAL FIRE’s home-hardening guidance also points to open eaves, vent openings larger than 1/8 inch, and door gaps greater than 1/8 inch as common failure points. ([3])
A homeowner checklist by location
Roof and attic
Start at the top. If embers get into the roof assembly or sit in debris on the roof, they can find the rest of the house from there.
What to check
- missing, broken, curled, or deteriorated roofing
- roof valleys filled with needles, leaves, or other debris
- gutters packed with debris
- gaps at roof edges, ridge details, or roof-to-wall transitions
- attic vents or other roof penetrations that show visible openings or damaged screening
What good looks like
A clean roof surface, clear gutters, and a roof covering that is in sound condition. CAL FIRE recommends Class A roofs as the preferred roof covering and advises using flame- and ember-resistant vents or noncombustible, corrosion-resistant mesh where vents are present. ([4])
What should trigger repair or replacement
Any broken or missing roof material, any vent or penetration with visible gaps, and any place where litter accumulates faster than you can keep it clean. If daylight or obvious openings are visible from the attic side, treat that as a real problem, not a cosmetic one. ([4])
Walls and siding
The wall surface itself matters, but the real weak spots are the seams and transitions where the wall meets the roof, a deck, or a penetration.
What to check
- gaps, rot, or decay in siding
- failed caulk around pipes, conduit, or fixtures
- combustible trim around windows
- seams where siding meets eaves or deck attachments
- penetrations for utility lines, hose bibs, or vents
What good looks like
Tightly detailed siding with no obvious opening larger than about 1/8 inch in vulnerable joints, and no decayed or separated material that creates an ember pathway. CAL FIRE recommends repairing gaps, holes, and rot and considering noncombustible siding where appropriate. ([4])
What should trigger repair or replacement
Rot, open joints, loose trim, or combustible siding in the most exposed parts of the house. A tiny gap can be enough if it sits in the wrong place. The goal is not perfection; it is removing the places embers can exploit first. ([1])
Windows and doors
Windows and doors are not usually the first thing people think about when they picture ember attack, but they are important because they combine glass, frames, trim, screens, and weather seals. If one piece fails, the whole opening becomes vulnerable.
What to check
- single-pane windows
- cracked or loose panes
- open or poorly sealed windows
- damaged screens
- rotten or warped door edges
- gaps under doors, around garage doors, or at sliding door tracks
What good looks like
Double-pane tempered glass, tight weatherstripping, and a frame and trim assembly that does not leave easy entry points. CAL FIRE says tempered double-pane windows are about four times more resistant to breaking during a wildfire, and a 2024 Fire Technology study found that an open or broken window creates a pathway for embers and flames into the building. ([4])
What should trigger repair or replacement
Single-pane glass in a high-risk exposure area, broken seals, torn screens, or any door that leaves a visible gap. A door gap that is large enough to notice is large enough to matter. ([4])
Crawlspace and foundation vents
Foundation vents are one of the classic ember-entry points because they sit low, collect debris, and often have lots of surface area. They also connect directly to the underfloor space, where ignition can spread without being obvious from the outside.
What to check
- vent openings larger than 1/8 inch
- broken, missing, or corroded vent screens
- plastic or damaged vent covers
- debris against the vent field
- gaps at the sill plate or around nearby penetrations
What good looks like
Vents that are either tested ember-resistant products or covered with noncombustible, corrosion-resistant metal mesh in the range CAL FIRE recommends. California code language for wildfire exposure areas requires vents to be fully covered with approved wildfire flame- and ember-resistant vents or WUI vents tested to ASTM E2886 and listed, with mesh openings between 1/16 and 1/8 inch. ([4])
What should trigger repair or replacement
Any vent with a loose screen, oversized opening, corrosion, or visible damage. If you can see a gap, do not assume an ember cannot use it. ASTM’s vent standard is useful, but it does not mean every vent type or every installation detail is equally protected. ([4])
Decks and attached structures
Decks are one of the clearest examples of why ember protection is not just about the house wall. Embers can collect where boards meet, where the deck meets the wall, and where debris settles underneath.
What to check
- gaps between deck boards, especially over joists
- leaves, needles, and trash under the deck
- combustible storage beneath the deck
- wood stairs, railings, fascia, or fences attached to the structure
- the deck-to-wall intersection
What good looks like
No combustible storage under the deck, no obvious debris catch points, and careful detailing where the deck attaches to the house. IBHS found that deck ignition often occurs when embers accumulate in gaps between deck boards at joist crossings. CAL FIRE recommends metal flashing at deck-to-wall intersections and removing combustible items from under decks. ([5])
What should trigger repair or replacement
Rotting boards, wood attachments that create a direct flame path, or any under-deck area that routinely traps leaves and needles. Decks can be upgraded, but the first fix is often just removing the fuel bed that embers would use. ([5])
The immediate zone around the house
The most overlooked ember defense is the simplest: remove the fuel that embers can land on right next to the house.
What to check
- mulch, leaf litter, and dead plant material against walls
- firewood, trash bins, patio furniture, and stored items within 5 feet of the home
- combustible fences touching the house or deck
- shrubs or plants directly below eaves, vents, or windows
- debris on roof edges, in gutters, or around roof penetrations
What good looks like
A 0–5 foot noncombustible zone with hardscape, gravel, pavers, or other noncombustible materials where appropriate. IBHS’s updated standard centers that 0–5 foot zone, and its 2025 research emphasized that vegetation in Zone 0 can amplify damage to the neighboring structure. ([3])
What should trigger repair or replacement
Anything combustible touching the home, deck, or fence line. If mulch, firewood, or a wood fence is directly against the house, you do not have an ember buffer; you have a fuel bridge. ([5])
Vent requirements and the tradeoffs homeowners should understand
Vent upgrades deserve their own section because this is where a lot of homeowners either underbuy or overbuy.
Fine mesh helps, but it is not magic. CAL FIRE recommends noncombustible, corrosion-resistant metal mesh between 1/16 and 1/8 inch for exterior vents, but it also warns that tighter mesh can reduce airflow and says homeowners should check with local building officials before changing ventilation. ASTM E2886 evaluates certain vent assemblies for ember and flame entry resistance, but it does not claim complete exclusion, and it does not cover every vent type. ([4])
That is why tested ember-resistant vents are often the better choice when you are replacing a vulnerable vent anyway. IBHS’s vent research shows that vent style and installation details matter, and California code language for wildfire exposure areas requires approved wildfire flame- and ember-resistant vents or WUI vents tested to ASTM E2886 and listed. In other words, the product, the listing, and the installation all matter. ([3])
The key tradeoff is simple:
- Mesh alone can be a useful improvement.
- A tested ember-resistant vent is usually a stronger solution.
- Neither one fixes a dirty assembly with gaps, debris, or nearby combustibles.
If you change vents, check whether the work is covered by state or local requirements, whether the product is listed for the vent type you actually have, and whether the surrounding eave, blocking, or framing needs sealing too. IBHS’s June 2025 update makes it clear that vents and the 0–5 foot zone are now central elements of current wildfire hardening guidance, not optional extras. ([3])
What to do first this weekend
If you only have a weekend, do the work in this order.
- Clean. Remove needles, leaves, and litter from roofs, gutters, vents, decks, and the area within 5 feet of the house. Clear under-deck storage and anything that can catch embers. ([4])
- Seal. Caulk gaps in siding, eaves, and penetrations. Tighten doors, garage doors, and windows with weatherstripping or gasketing where needed. ([4])
- Replace. Fix rotten boards, damaged screens, cracked windows, and broken or corroded vents. ([4])
- Upgrade. Move from generic screening to listed ember-resistant vents where appropriate, improve windows in the most exposed openings, and build a true 0–5 foot noncombustible zone. ([3])
That sequence matters because the cheapest work is often the most effective per dollar. A clean, sealed house has fewer ember entry points than a house with one expensive upgrade and multiple open gaps.
What Cindera homeowners should prioritize first
Cindera’s action model is well suited to ember protection because ember-related work usually clusters into a few categories: vents, openings, decks, and the immediate zone around the structure. In practice, homeowners should prioritize the actions that combine high ember exposure with low-cost fixes first, then move to more disruptive upgrades like vent replacement, window improvements, or deck changes. When Cindera’s scoring identifies ember-related actions, the right next step is usually to start with the openings closest to the house and the easiest debris sources to remove.
If you are deciding where to spend money, use this order:
- easy and cheap: cleaning, sealing, weatherstripping, debris removal
- moderate: screen or vent replacement, flashing, selective repairs
- harder and more expensive: window replacement, decking changes, larger assembly upgrades
That is the practical logic behind the science: reduce the chance that embers can enter, then reduce the chance that anything receptive is waiting for them when they land. NIST’s mitigation approach supports that layered sequence, with parcel-level fuel reduction and structure hardening working together. ([2])
When to DIY, when to hire a pro, and when to get a property-specific plan
Some ember-hardening tasks are straightforward. Others are not.
Good DIY jobs
- cleaning roofs, gutters, decks, and Zone 0
- removing combustible storage near the house
- sealing small, accessible gaps with the right materials
- replacing damaged screens where the installation is simple
Hire a pro when
- you need to replace multiple vents
- the vent type is unclear
- you are opening walls, soffits, or roof edges
- you are changing windows, doors, decking, or siding
- local code or product listing questions affect the work
Get a property-specific plan before spending if
- the house has many vulnerable openings
- you are comparing several possible upgrades
- you are unsure which fix addresses the biggest risk first
- you want to avoid paying for work that does not meaningfully change the house’s exposure
The basic principle is to spend first where the ember pathway is easiest to stop and where the house is most likely to fail. That is exactly where a parcel-level wildfire score and action plan can help.
What to do next
If you own a home in a wildfire-prone area, start with a roof-to-foundation inspection focused on openings, gaps, vents, and the 0–5 foot zone. Then check your property at /score to see which ember-related actions should come first.
Sources
- U.S. Fire Administration / FEMA - Protecting Structures From Wildfire Embers and Fire Exposures
- usfa.fema.gov
- Insurance Institute for Business & Home Safety - IBHS releases updated Wildfire Prepared Home Standard
- CAL FIRE - Home Hardening
- Insurance Institute for Business & Home Safety - Wildland Fire Embers and Flames: Home Mitigations That Matter
- Insurance Institute for Business & Home Safety - Wildfire Prepared Home About
- Insurance Institute for Business & Home Safety - Vulnerability of Decks to Embers and Flames
- Insurance Institute for Business & Home Safety - Ember Entry Vents
- Insurance Institute for Business & Home Safety - Near-Building Noncombustible Zone
- ASTM International - ASTM E2886/E2886M-20
- California Code of Regulations / ICC - Chapter 7A: SFM Materials and Construction Methods for Exterior Wildfire Exposure
- FEMA - Homeowner’s Guide to Reducing Risk of Structure Ignition from Wildfire
- FEMA - Marshall Fire Mitigation Assessment Team Report
- Fire Technology - Open or broken window creates pathway for embers and flames into the building